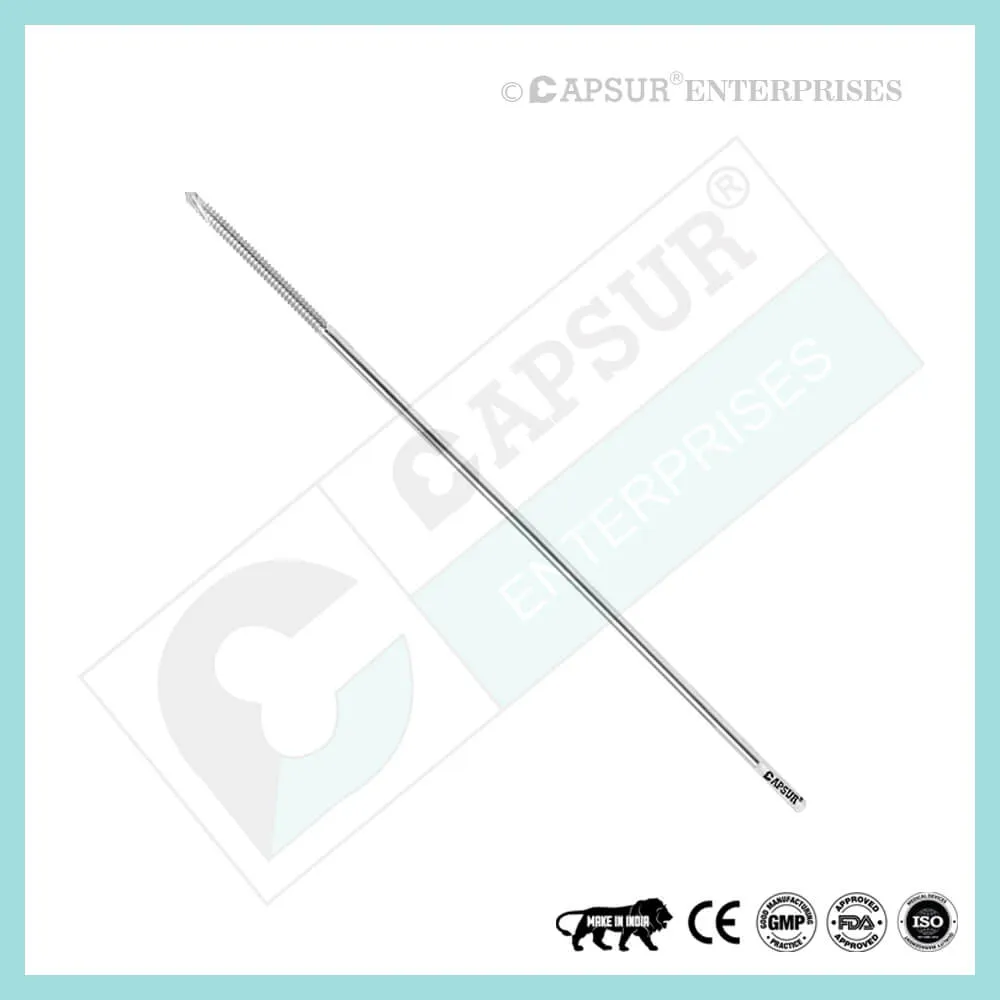
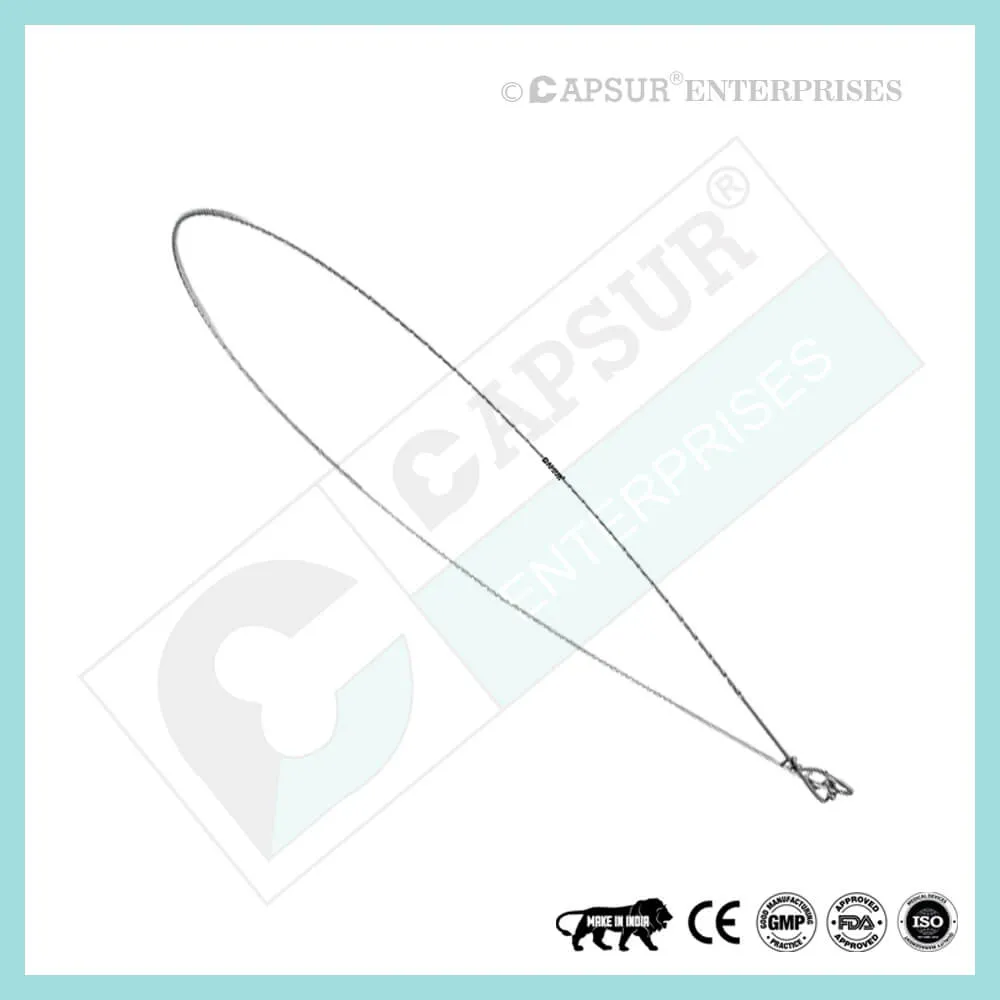
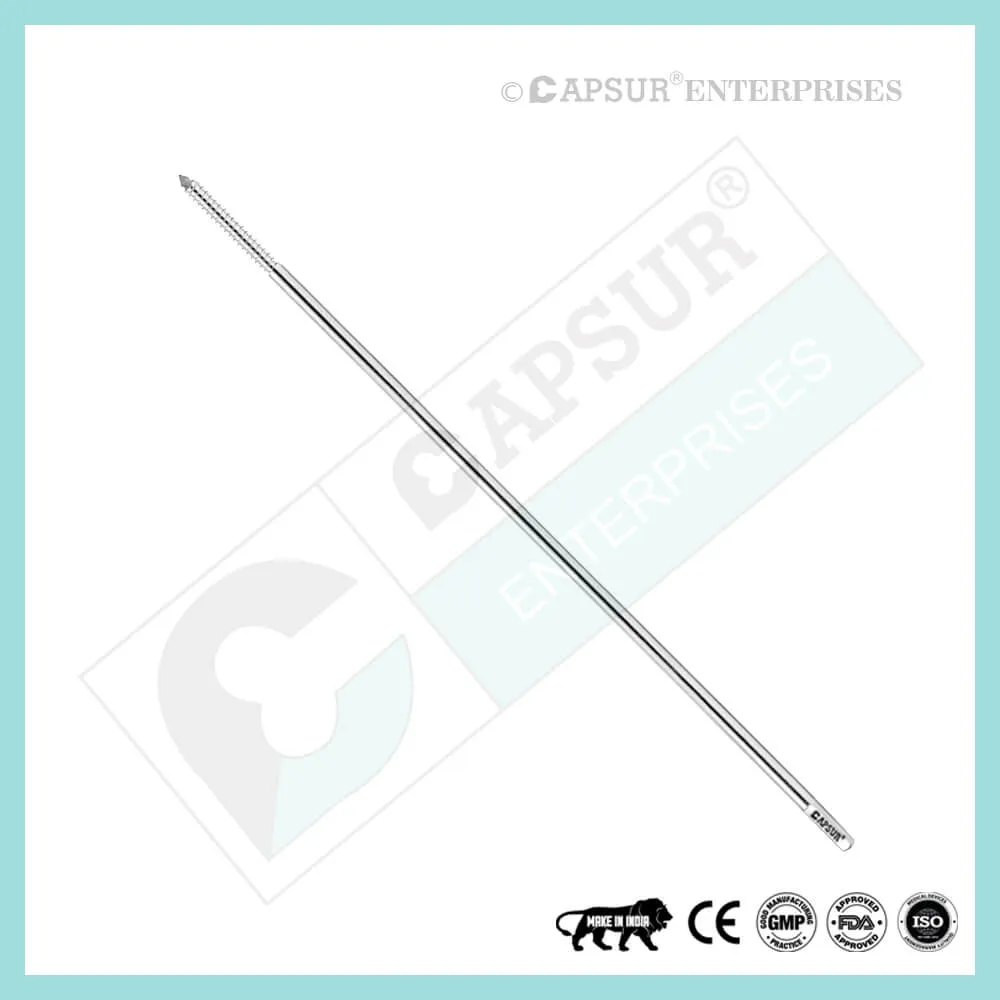
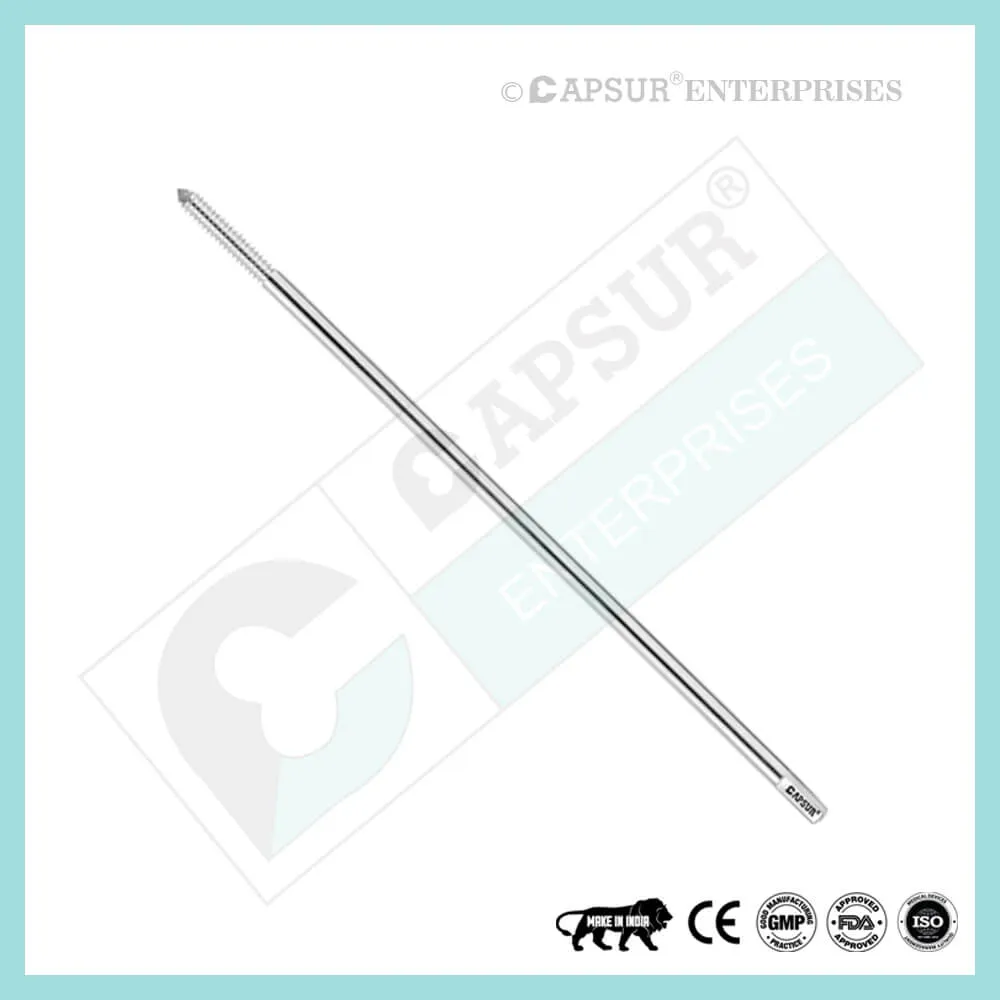
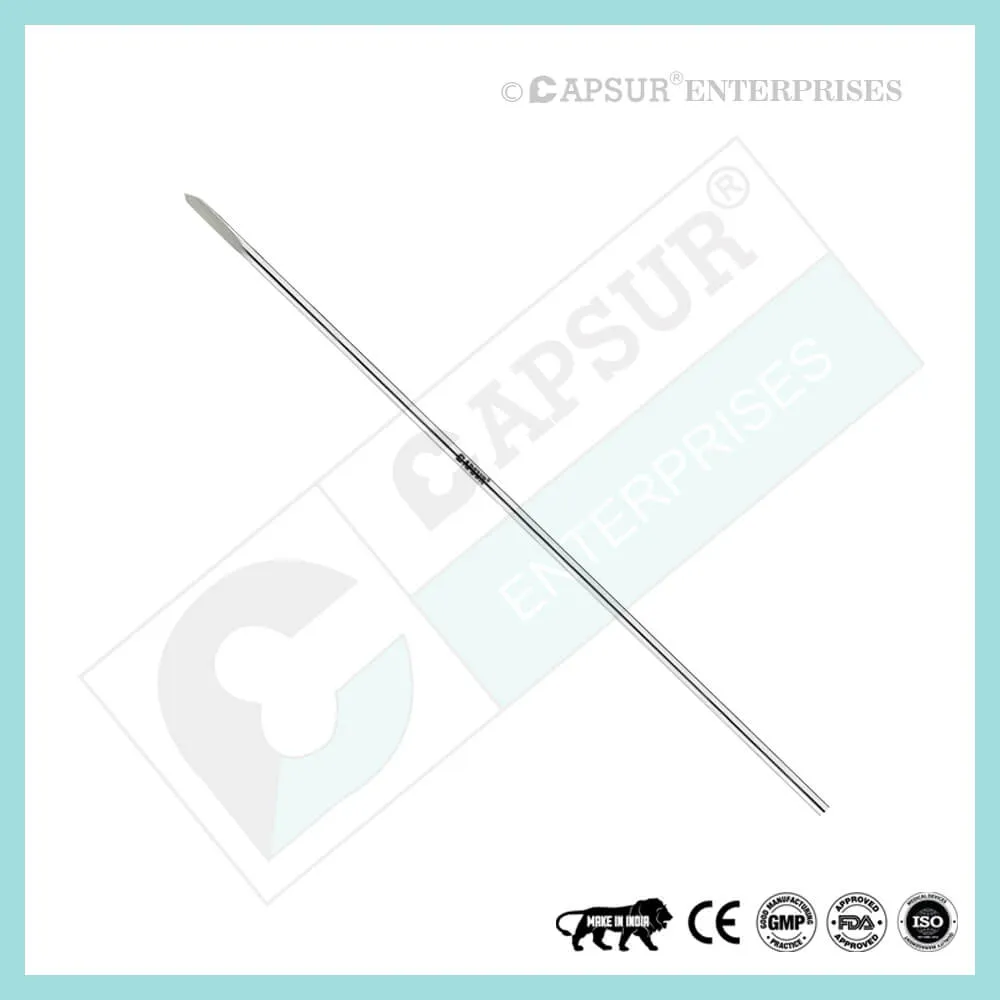
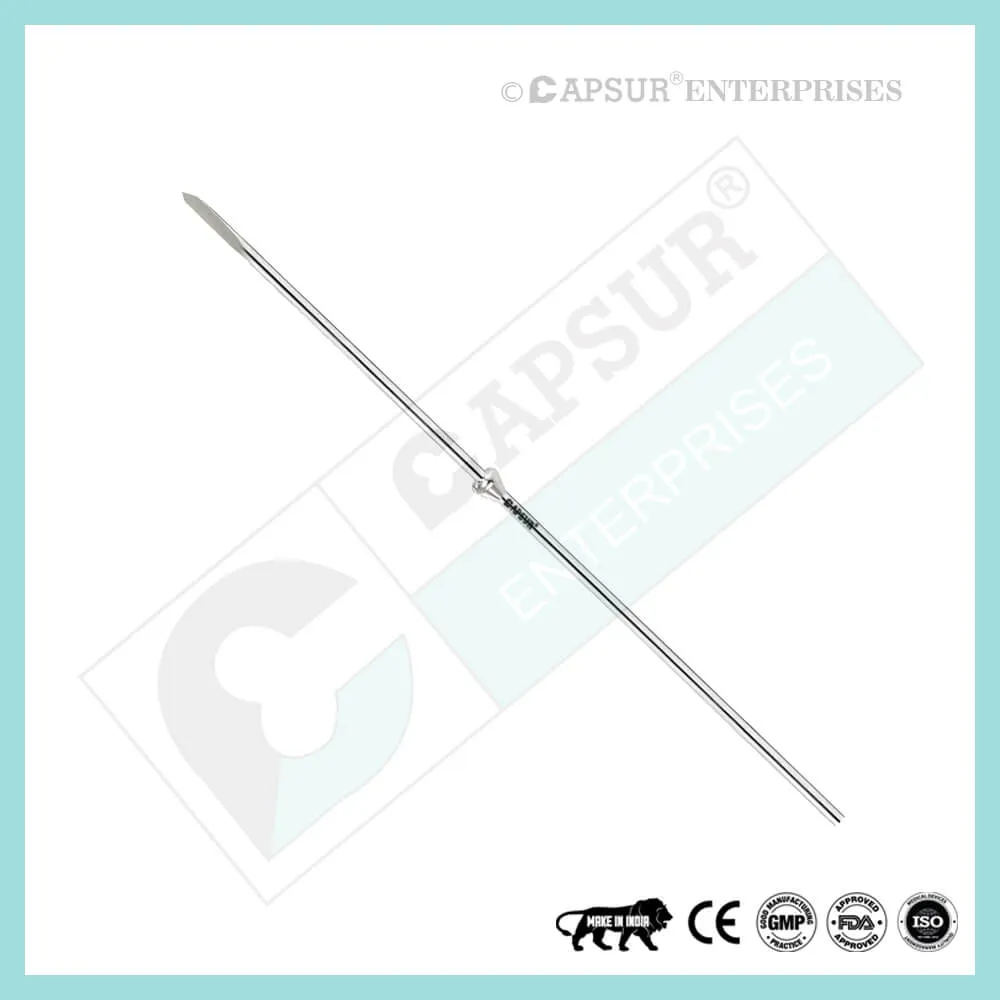
Guide Wire Tibia Use in Intramedullary nailing
placing a guide wire
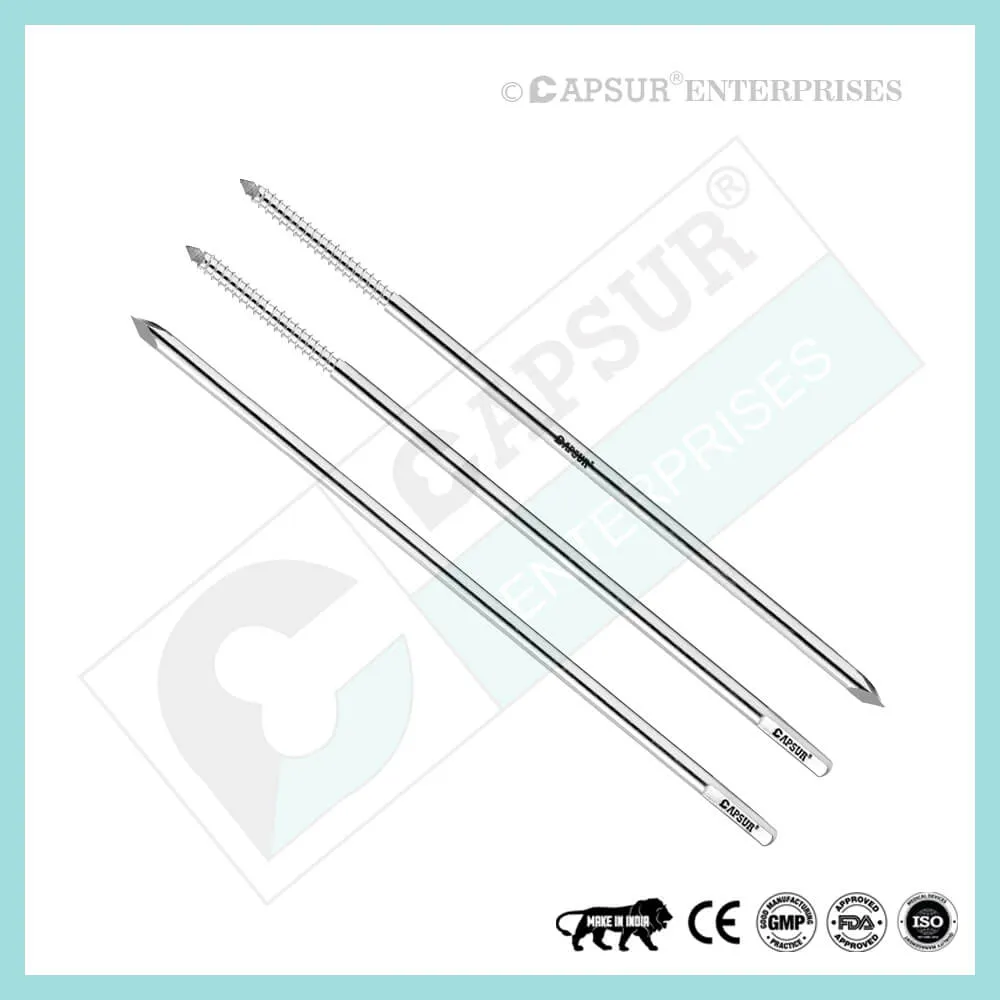
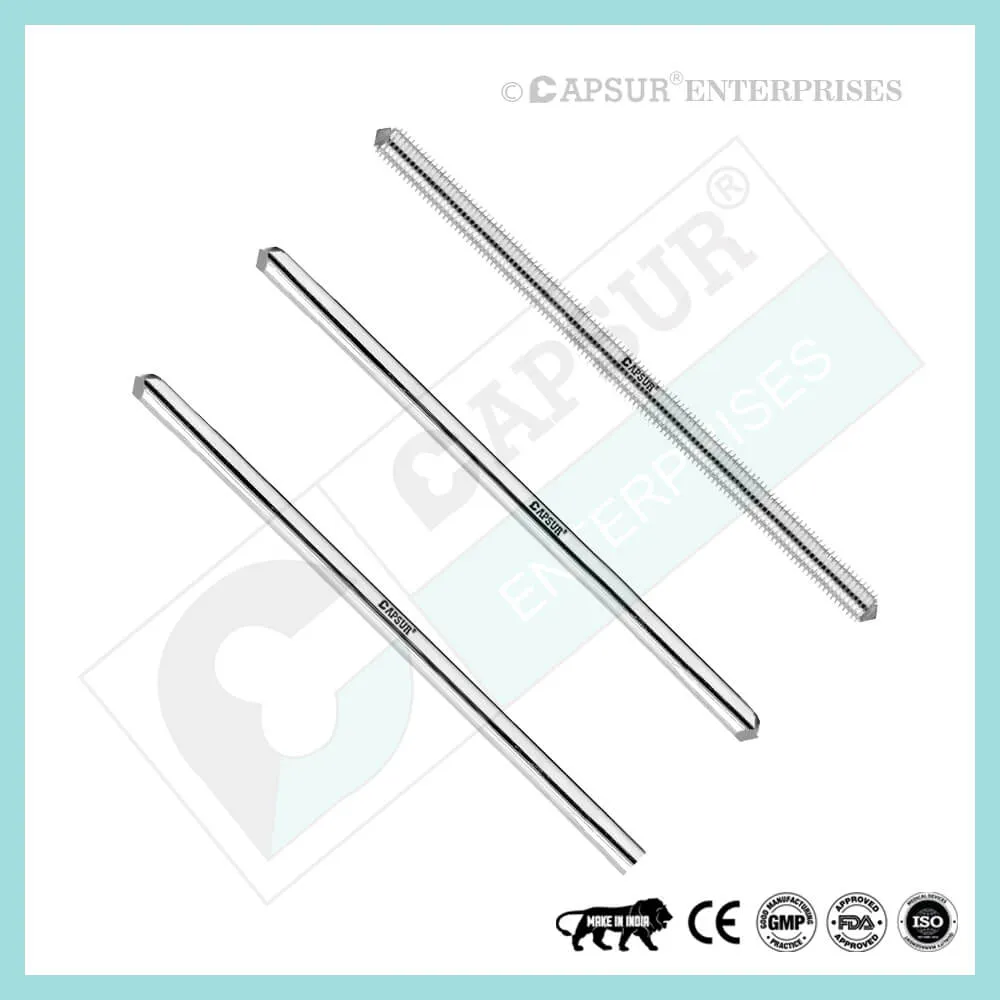
An hand reamer
The guide wire tibia can typically be inserted into the diaphyseal medullary canal after the entry site has been prepared using one of the techniques. If there is still cancellous bone blocking the entry, finish it with a hand reamer. When the medullary canal is blocked by callus, these instruments (6, 7, and 8 mm in diameter) can be useful for treating old fractures and non-unions.
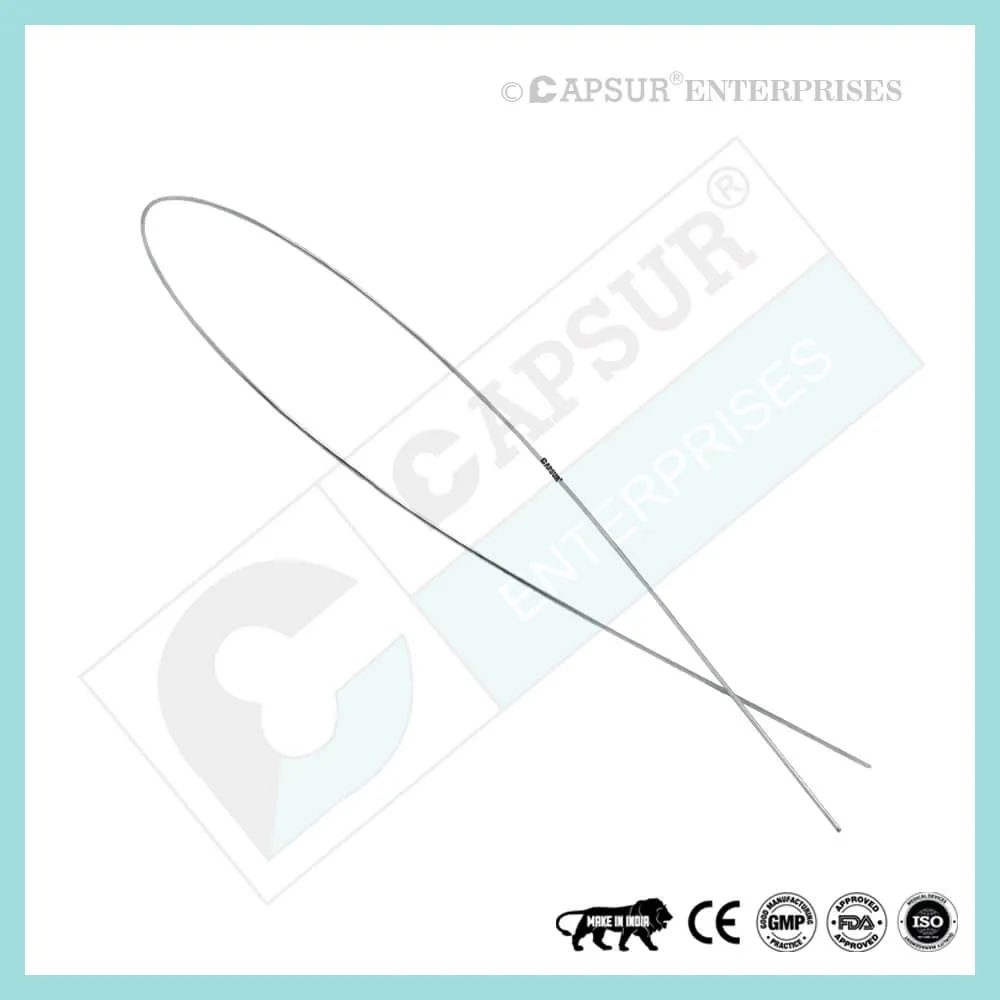
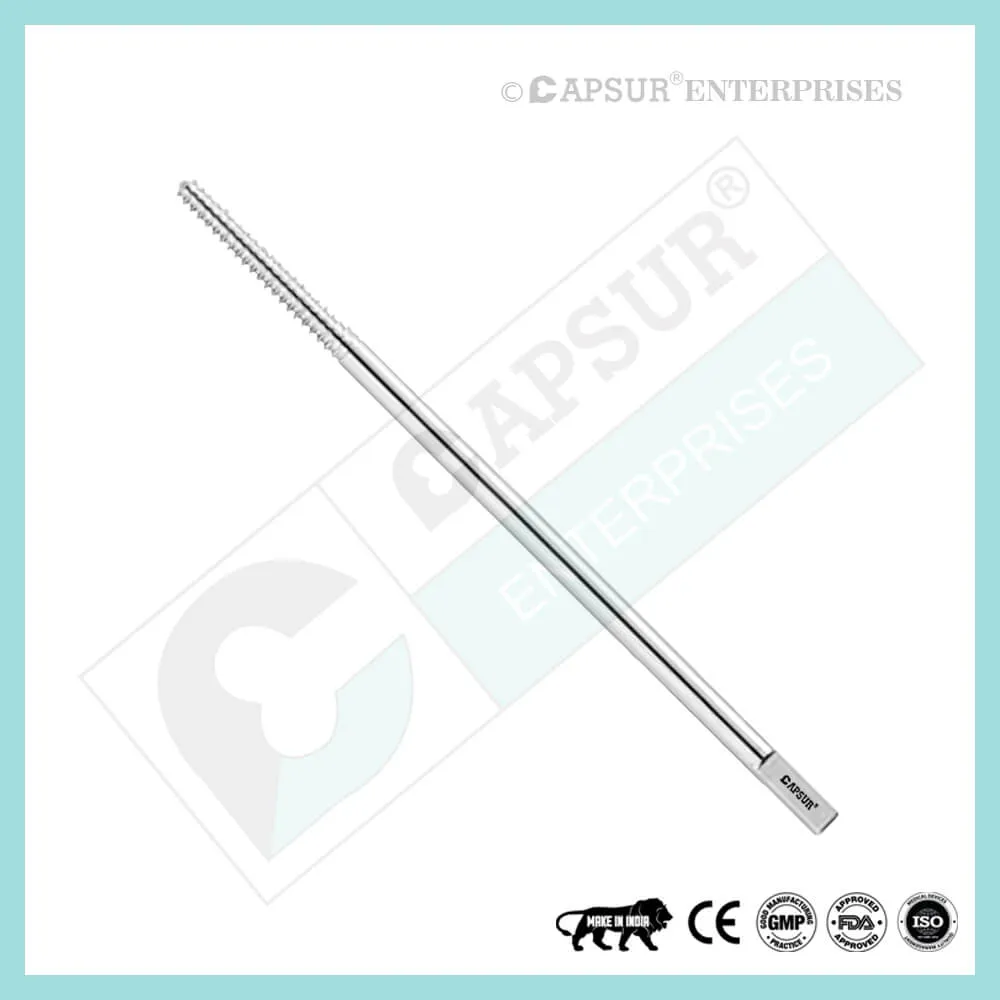
wire with a ball tip
After the proximal metaphysis has been broken, a ball tip guide wire should be inserted into the distal metaphysis through the medullary canal. Fracture reduction is necessary here. Special efforts may be necessary if reduction is challenging or the fracture is comminuted.
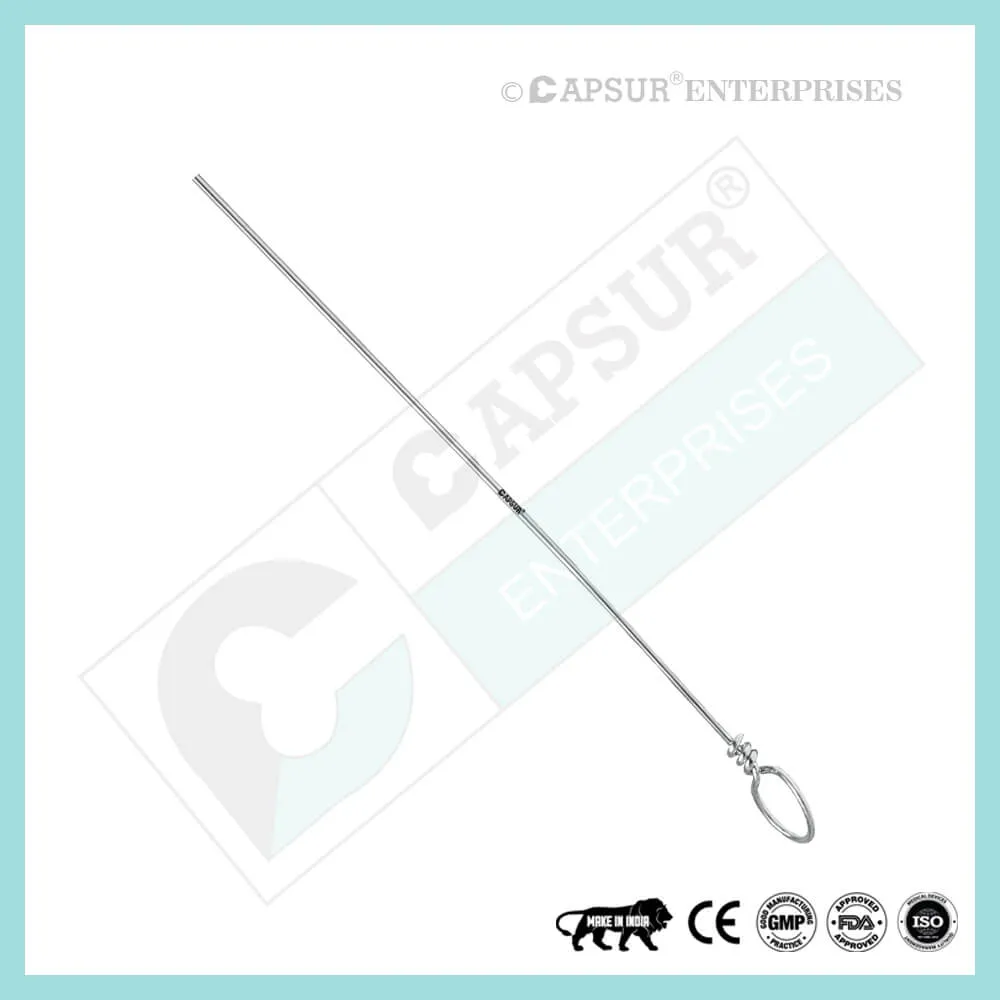
Making the guide wire bowed
For two reasons, it is beneficial to slightly bend the guide wire 10-15 mm above its tip:
- It is simpler to enter the distal fragment through the fracture site because the wire’s tip is redirected by rotation of the wire.
- It also helps to ensure that the tip is positioned correctly within the distal metaphysis.
To avoid jamming inside a cannulated reamer, a bend can be placed beyond the ball of a guide wire tibia whose ball is located a little near the end.
Controlled by fluorescence
Make sure the guide wire is above the ankle joint’s middle using fluoroscopy.
measuring the length of the nails
Size of the nails
Prior to surgery, nail length is estimated, but intraoperative measurement is more accurate. Use the radiographic ruler that came with the nail’s tools. Take a measurement from the intended nail entry point to the area just above the ankle joint after the fracture has been healed.
Choose a nail that penetrates the distal tibia and enters the bone without sticking out above the surface. For distal fractures, nail length might be important. When a nail is too short, proximal extensions of varying lengths on some nails can be added after insertion to make up for the mistake.
It is recommended to take a straightforward clinical intraoperative length measurement if a radiographic ruler and/or image intensifier are not available. Place a second guide wire of equal length at the entry portal after positioning the intramedullary guide wire tibia properly. Then, measure the length difference between the two wires.
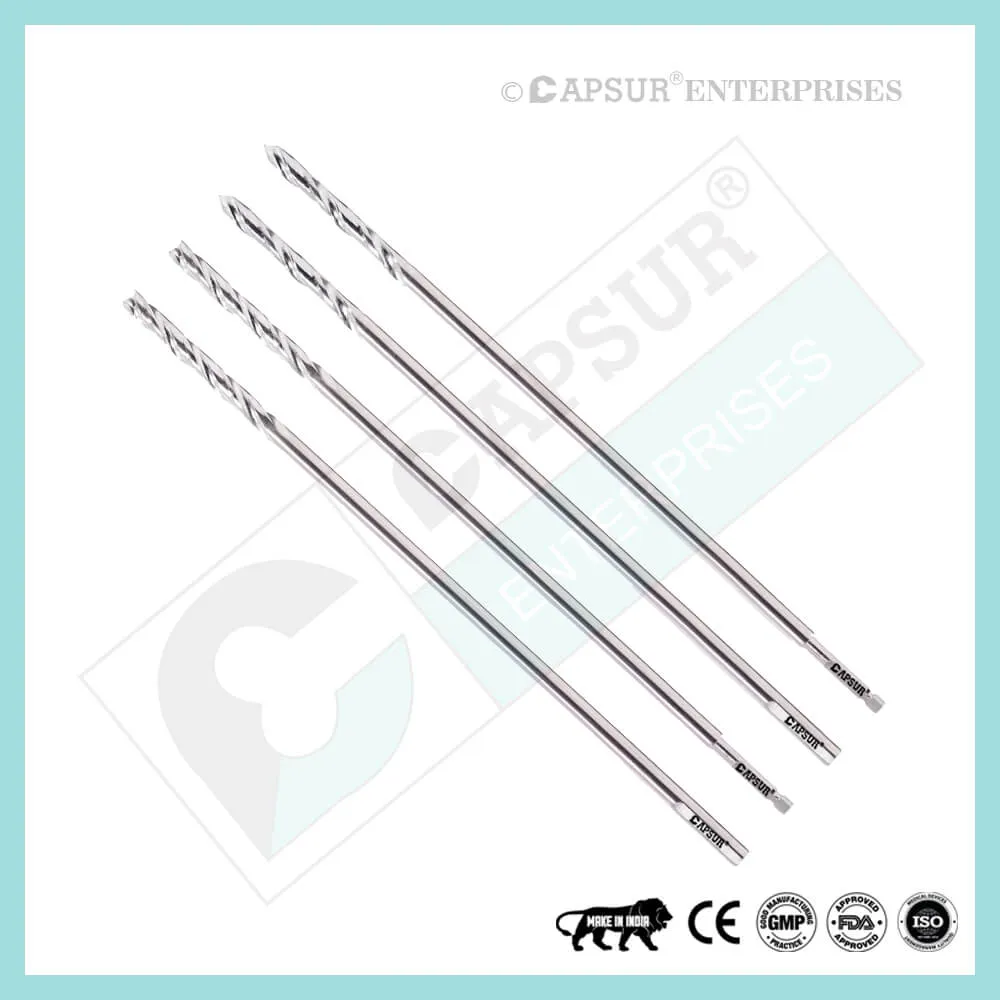
reaming and measuring nail diameter
Reaming
Over the ball-tipped guide wire, place the cannulated, flexible-shaft reamer.
Start out with an end-cutting reamer and work your way up to larger reamer diameters, typically in steps of 0.5 mm. A reamer sleeve, as shown, or appropriate retractors can be used to protect the soft tissues at the entry site throughout this process.
Never press the reamer! Pull back a little every so often as you move forward to clear debris out of the medullary canal.
The internal cortical surface is being touched by the reamer when there is a chattering sensation. An appropriate diameter nail can typically pass with only a small amount of additional reaming.
deciding on nail diameter
The diameter of the medullary canal is measured using a radiographic gauge. Verify both the lateral and AP views.
To ensure adequate strength and durability for both the nail and the locking screws, the nail diameter should be large enough. Review the directions provided by the nail manufacturer. Typically, a 10 mm nail suffices. Due to the imperfect straightness of the medullary canal, reaming should be done to a diameter of 0.5 to 1.5 mm greater than the nail.
preparing to insert a nail
Over the proper guide wires, cannulated nails are inserted. A solid nail uses no wire at all. The guide wire tibia used for reaming may be too large to remove through a specific cannulated nail if it is ball-tipped or significantly bent. In that case, the wire needs to be changed before the nail is put in. It is possible to switch out guide wires using a plastic medullary exchange tube. Cross the reaming guide wire with the medullary tube and continue past the fracture site. As you take out the reaming guide wire, keep it steady.
Check the distal tibia’s position on AP and lateral x-rays after inserting the nailing wire through the tube. After that, take out the medullary exchange tube.
the cannulated nail being inserted
Putting in nails
It should be possible to manually or gently hammer the cannulated nail over the guide wire tibia with enough reduction and over-reaming. As the nail crosses the fracture, make sure that reduction is maintained. Correct the reduction or remove the nail and ream to a larger diameter if insertion is challenging.
To reduce the likelihood of knee pain, make sure the nail’s proximal end is buried beneath the surface of the bone at the entry site. To ensure proper length proximally and distal fixation, careful nail length selection may be required, especially for distal fractures.
The distal tibia’s center, roughly where the physeal scar (a denser bone) meets the bone, is where the nail’s tip should be positioned. For fractures below the medullary isthmus, the distal placement of the nail is especially crucial. Since the passage of the nail at this level does not lessen the fracture, the surgeon must maintain proper fracture alignment.
Pitfalls
With each hammer blow, the nail should move closer to the medullary canal. If resistance is felt, it might be because the entry point was chosen incorrectly or because the nail’s tip struck the distal fragment’s cortex.
Forced hammering can result in nail twisting, nail incarceration, or fracture comminution.
Guide Wire Tibia Risk Factor
When assessing the prognosis in each case, contraindications—which may be partial or complete—must be taken into account. Under the following circumstances, alternative management strategies may need to be taken into account:
- infections that are systemic or local, acute or chronic.
- either localized, systemic, or chronic inflammation.
- serve as a dangerous vascular, nervous, or muscular disease.
- Bone defects that would prevent the implant from being properly anchored.
- All associated illnesses that might jeopardize the implant’s success and functionality.
Warnings and Precautionary for Guide Wire Tibia
The surgeon and support personnel should read the safety instructions in this document as well as any product-specific information in the product description, surgical techniques, and/or brochures before using Guide Wire Tibia.
Guide Wire Tibia is designed, built, and produced with the utmost care using medical-grade materials. These high-quality guide wire ensure the best working outcomes so long as they are applied correctly. As a result, the usage guidelines and safety advice below must be followed.
Inappropriate use of guide wires can result in injury to the operator, patients, or other people as well as tissue damage, premature wear and tear, instrument destruction, and instrument destruction.
The operating surgeon must actively participate in the medical care of their patients. The surgeon must have a complete understanding of the instruments, their limitations, and the surgical procedure. The surgeon and the surgical team are responsible for exercising caution in the selection and use of surgical instruments. Before using implants, adequate surgical training should be obtained.
Factors that could harm the operation’s success include:
- allergies to materials implanted.
- regional bone tumors.
- osteomalacia or osteoporosis.
- metabolic disturbances and systemic disease.
- drug and alcohol abuse.
- Excessive shock-producing physical activity that exposes the implant to blows and/or heavy loads.
- Patients who lack the mental capacity to comprehend and follow instructions from a doctor.
- Unhealthy overall.
- Potential Negative Effects
- The most frequent side effects following implantation are as follows:
- Tissue reaction to the implant and/or cyclic loading of the fixation site may cause the guide wire to become looser in the tibia.
- the two stages of infection.
- additional bone fracture brought on by abnormal stress or weakened bone structure.
- a hematoma or pressure-related pressure that causes temporary or permanent neural damage.
- Hematomas from wounds and slow wound healing.
- Venous thrombosis, pulmonary embolism, and cardiac arrest are examples of vascular disease.
- heterotopically ossifying.
- Due to the Guide Wire Tibia’s presence, there is pain and discomfort.
- Implant mechanical failure, such as bending, loosening, or breakage.
- Implant migration leading to injury.
Preoperative Planning for Guide Wire Tibia
Following a thorough clinical evaluation of the patient, the operation is planned. X-rays are also necessary to provide a clear picture of the bony anatomy and any associated deformities. A full size of the Guide Wire Tibia must also be on hand at the time of the operation, along with the appropriate implantation tools.
The potential risks and complications related to the use of implants should be discussed with the patient by the clinician. If the patient has allergies to any of the implant materials, it is crucial to know this before surgery. Additionally, the patient needs to be made aware that the device’s performance cannot be guaranteed because problems may reduce its lifespan.
Guide Wire Tibia Precautions
During reprocessing, verify that the instruments are functional and look for wear. Before using, replace any worn-out or broken instruments.
Utilizing the tools designated for this Guide Wire Tibia is advised.
Use caution when handling equipment, and put used bone-cutting tools in a sharps container.
Always use suction and irrigation to remove any debris that may be produced during implantation or removal.
Guide Wire Tibia Warnings
When put through excessive force while in use, the Guide Wire Tibia may break. We advise that, whenever possible and practical for the particular patient, the broken part should be removed. The surgeon will ultimately decide whether to remove the broken part based on the risk involved. Be aware that implants lack native bone’s tensile strength. Implants that are subjected to heavy loads may fail.
Sharp edges or moving joints on tools, screws, and cut plates could rip or pinch the user’s glove or skin.
Make sure to get rid of any fragments that weren’t surgically fixed.
The final decision to remove an implant rests with the surgeon, but we advise that fixation devices be taken out as soon as it is safe and practical for the particular patient and after their purpose as a healing aid has been fulfilled. To prevent refracture, adequate post-operative management should be performed after removing the guide wire.
Guide Wire Tibia General Adverse Events
There are risks, side effects, and adverse events associated with all major surgical procedures. While there are many possible reactions, the following are some of the most frequent ones: issues related to anesthesia and patient positioning (such as nausea, vomiting, dental injuries, neurological impairments, etc.), thrombosis, embolism, infection, damage to nerve and/or tooth roots or other critical structures, such as blood vessels, excessive bleeding, damage to soft tissues, including swelling, abnormal scar formation, functional impairment of the musculoskeletal system, and pain.